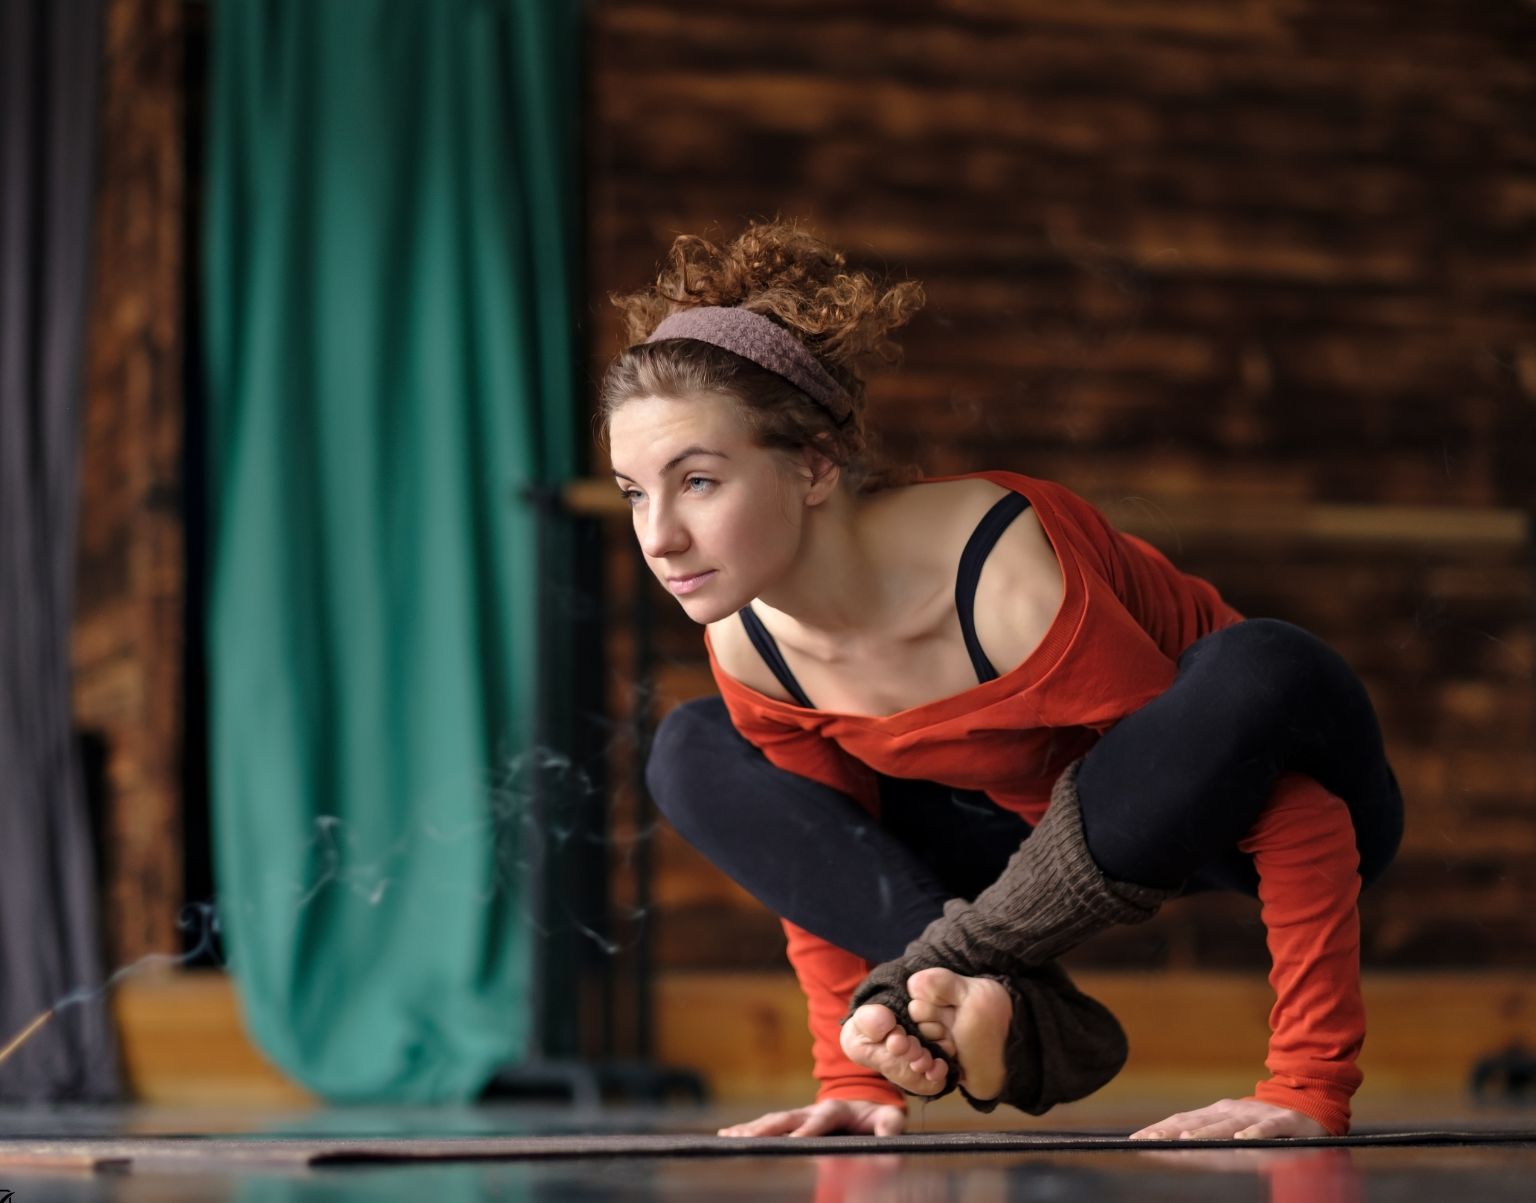
Hamsasana, Swan Pose is a gentle preparatory yoga pose that builds the strength and focus required for advanced arm balance poses, without subjecting the body to excessive load prematurely. In Sanskrit, the term “hamsa” translates to swan, which has long symbolized grace, insight, and breath awareness in yoga philosophy; this pose carries forward that same steady, controlled state of exertion.
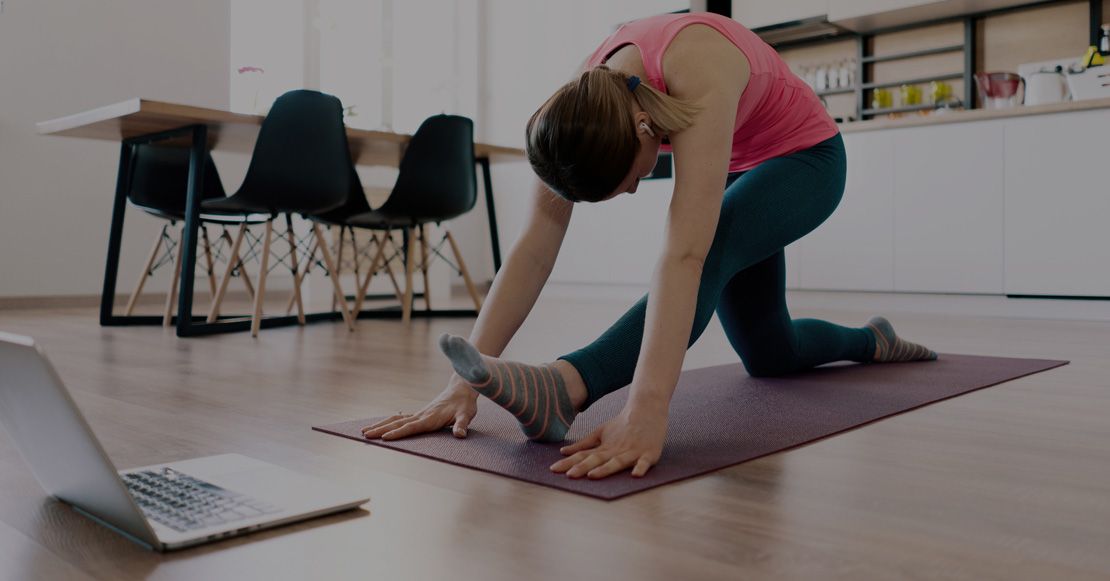
At Gyan Yog Breath, we teach Hamsasana as both a standalone practice for core and arm strength and as a stepping stone toward Mayurasana (Peacock Pose). Below, our teacher trainers break down exactly how to practice it safely, who should avoid it, and why it deserves a place in your practice.
What is Hamsasana (Swan Pose)?
Swan Pose is an arm strengthening posture found in many classical hatha yoga texts, such as Swami Satyananda Saraswati’s Asana Pranayama Mudra Bandha. Like many traditional hatha postures, its roots trace back to the ashrams and gurukuls where yoga in India was systematized and passed down through generations of teachers. It’s typically taught as a gentler alternative to Mayurasana for practitioners still building wrist, forearm and core strength for deeper arm balances
How to Do Hamsasana – Step-by-Step Instructions
Practice on a padded mat, ideally on an empty stomach, and move through the steps slowly.
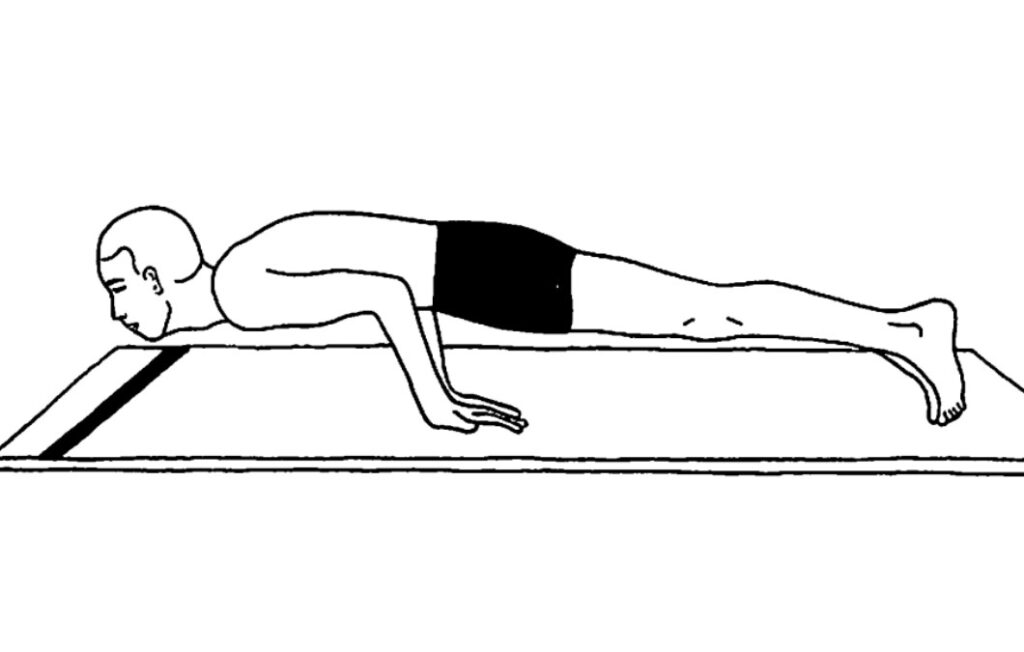
- Start in a kneeling position, feet together and knees comfortably apart.
- Palms flat on the floor with fingers pointing back toward your feet, wrists touching forearms touching, arms crossed over each other.
- Lean your torso forward until your abdomen rests atop of your elbows and chest lands comfortably onto upper arms, finding your balance point.
- Slowly walk or stretch legs straight back behind you until they meet again at this balance point.
- Keep feet together, resting on tips of toes.
- Bring the gaze slowly down toward a steady point at eye level in front of you – this drishti helps stabilize the pose – until your entire body weight is balanced between hands and toes in an expression where they remain as one unit.
- Hold for as long as feels stable and comfortable without straining yourself too much.
- To release, lower your knees onto the floor and sit into Vajrasana (Thunderbolt Pose).
- Relax completely before repeating.
Breathing Technique (Pranayama) for Hamsasana
- Before entering Vajrasana, exhale fully.
- For short holds (bahya kumbhaka), hold your breath out (bahya kumbhaka).
- For longer holds (bhaya sankya) breathe slowly and deeply.
- keep holding out as you lower yourself back down into Vajrasana.
- Inhale only once you are back seated again in Vajrasana.
Where Hamsasana Fits in Your Practice
Hamsasana is best used as a preparation pose to Mayurasana. If you’re still not able to develop the strength of your forearm or shoulder to perform the fully Peacock Pose, Hamsasana offers similar benefits, but with a lower threshold for strength and is therefore a good bridge posture.
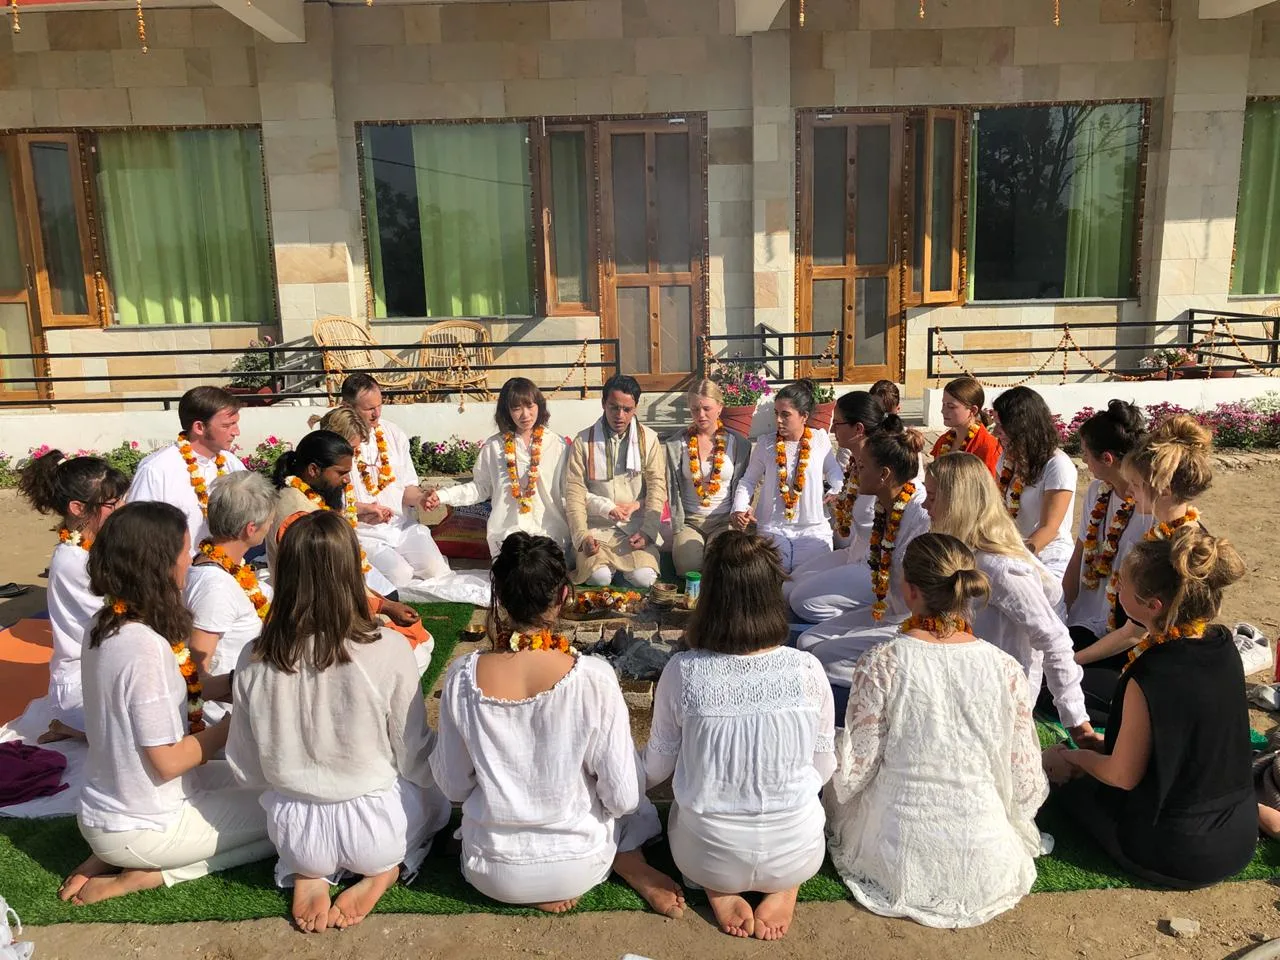
For a general guideline for sequencing do not place Hamsasana right before inverted poses (like Sirsasana or Sarvangasana) and then allowing your body to take the opportunity to do a neutral posture in between. This is the exact kind of sequence logic taught in an organized 200-hour yoga teacher training course in India and where students are taught not just the individual poses but also how to construct safe, progressive classes around them.
Benefits of Hamsasana
- Digestive stimulation: Massages and activates the abdominal organs, supporting healthy digestion.
- Core and arm strength: Builds the wrist, forearm, and shoulder stability needed for arm balances.
- Focus and concentration: The fixed gaze (drishti) trains single-pointed attention.
- Preparation for Mayurasana: Builds the physical foundation for more advanced balancing poses.
Precautions: Who Should Avoid Hamsasana
Hamsasana places direct pressure on the abdomen, so it isn’t suitable for everyone. Avoid this pose if you have:
- Peptic or duodenal ulcers
- Hyperacidity
- Hernia
- High blood pressure
Women who are pregnant should not perform Hamsasana under any circumstance due to the abdominal compression at risk. Like any other asana that requires weight on your abdomen or wrists If you’re new to yoga, or are dealing with an illness that isn’t listed, consult your yoga instructor or physician prior to attempting the pose.
Final Thoughts
Hamsasana is an excellent way for yoga practitioners to progress toward advanced work gradually through intelligent sequencing. Instead of jumping directly into Mayurasana, this pose allows your body to build strength and breath control at its own pace — ultimately making Mayurasana possible in the first place!
Frequently Asked Questions About Hamsasana
No. They’re related but distinct. Hamsasana keeps the forearms and elbows on the floor for support, while Mayurasana requires balancing the entire body on just the palms and elbows, demanding significantly more arm and core strength.
Hold only as long as it’s comfortable and stable — there’s no fixed count. Traditional guidance is simply to avoid straining; a few steady breaths is a reasonable starting point for beginners.
Warm up your wrists, shoulders, and core, and practice on an empty stomach. If you’re new to arm balances, spend time building forearm plank and core strength first. Many students first encounter proper alignment cues for poses like this through a structured curriculum — whether that’s an in-person program or a live, guided Online yoga teacher training that offers direct feedback on form.